Creating an UBox BASIC App
On this tutorial you will be able to create a basic UBox app and then a more complex app, using the native gestures that can be tested online on your web browser or by doing the actual gesture once you have installed the UBox Player.
BASIC APP
Test Application
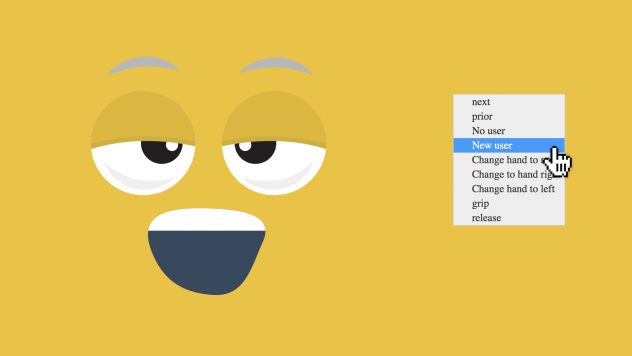
The main goal is to change the background color and the face reaction image depending if there is a new user or no user in the interactive area that the sensor can reach.
To test this on your browser just right click on any part of the app and select an option between New User o No User to see the change.

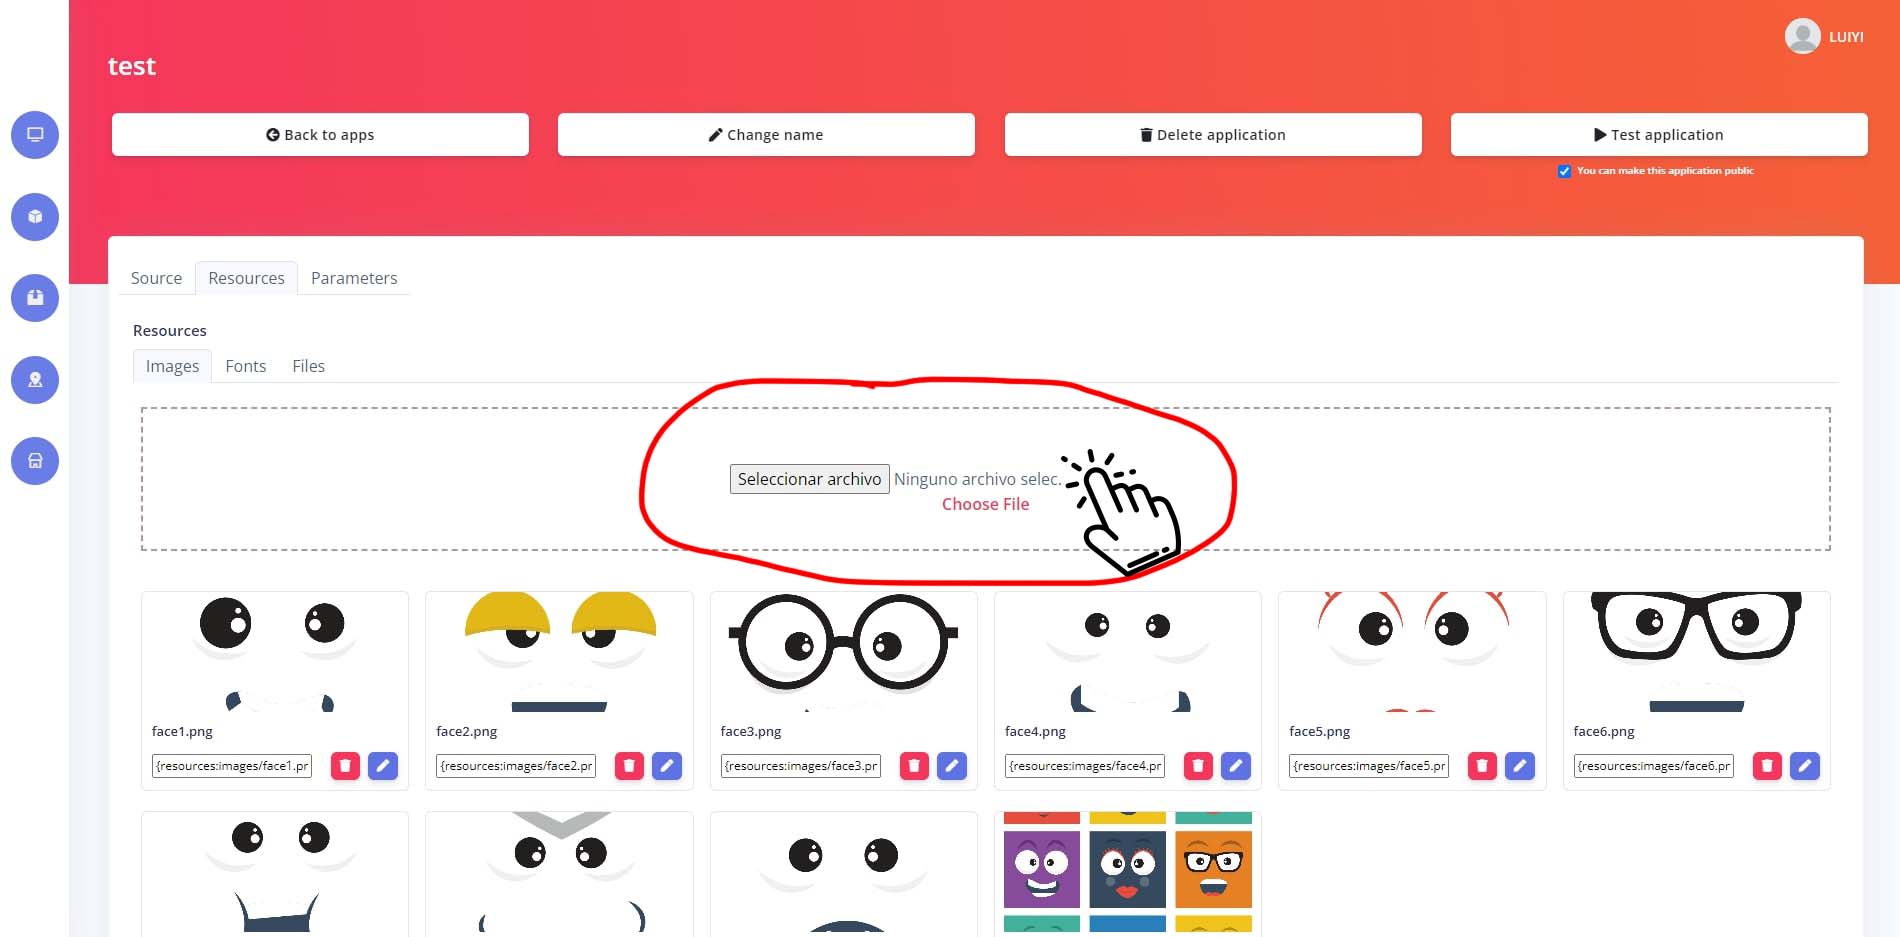
Let’s start by adding the imagery that we’ll be using within the code. First locate the Resources tab and click on it, then upload the images you will use one by one. Download images here.

Once you have uploaded all the images, you can now add your custom HTML, CSS and JS code. For this app you won’t need to remove any of the native script but add your custom code.
HTML
<html>

<head>
</head>

<body>
  <canvas id="skeletonsCanvas" width="640" height="480"></canvas>

  <div id="main-container">
    <img id="face1" src="{resources:images/face1.png}">
    <img id="face2" src="{resources:images/face2.png}">
  </div>

</body>

</html>
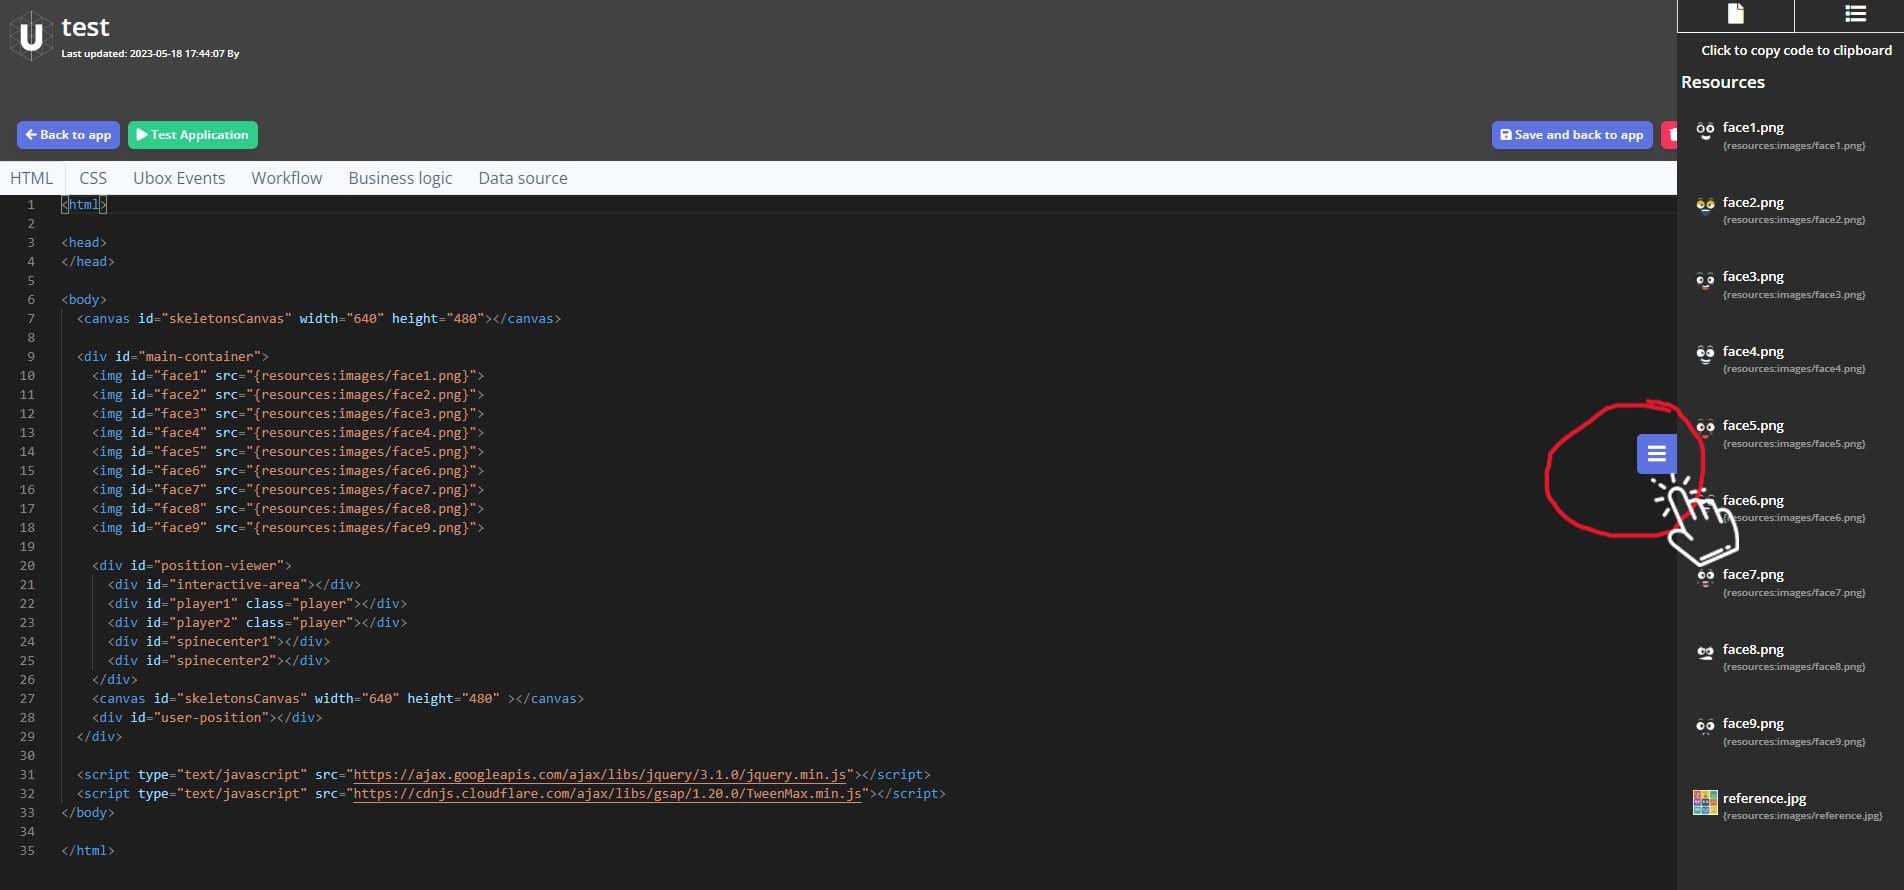
As shown on the highlighted script, we have added two images within a main container. To add these images you will need to locate the gear icon to open the assets library side panel, click on the asset you would like to add (this automatically copy the path of your file to your clipboard) and then paste it on the source field.

CSS
Position your elements and add a background color to the main container.
/* application css */

body{
  width: 100%;
  height: 100%;
}

#main-container{
  position: absolute;
  width: 100%;
  height: 100%;
  top: 0;
  left: 0;
  background-color: #efc31a;
}

img{
  position: absolute;
  width: 500px;
  height: 500px;
  top: 0;
  left: 0;
  bottom: 0;
  right: 0;
  margin: auto;
  opacity: 0;
}

#face2{
  opacity: 1;
}
UBOX EVENTS
Every time you create a new UBox app it comes with some pre-programmed functions that can be triggered when the gesture is made without the need of understanding the logic behind, just add the script of what you would like to happen when any of these functions is called.
On this app we are using noUser and newUser to change the face reaction image and the background color whether the sensor sees someone or doesn’t see anyone on its vision range.
function noUser(){
  console.debug('No User :(');
  //sendToArduino('0');
  document.getElementById('face1').style.opacity = '0';
  document.getElementById('face2').style.opacity = '1';
  document.getElementById('main-container').style.backgroundColor = '#efc31a';
}

function newUser() {
  console.debug('New User :)');
  //sendToArduino('1');
  document.getElementById('face1').style.opacity = '1';
  document.getElementById('face2').style.opacity = '0';
  document.getElementById('main-container').style.backgroundColor = '#e64d3d';
}
Just locate these two functions and add the script to swap the image and the background color.
Once you are ready you can safe the app temporarily or permanently and get ready to add some more style to your app on the next level.
